You have come to this blog to learn how to print stickers on Cricut. We are going to tell you the basic to advanced steps of creating stickers. Both Cricut Maker and Explore machines are capable of making stickers. Plus, you can use the Print Then Cut feature to create premium quality stickers at your home.
Here you will learn what are the essential things you need for this project. Plus, you will attain various other important info about sticker making. Thus, keep reading this piece of content till the end to learn how to print sticker on Cricut and work on your first-ever sticker project.
What Supplies Do You Need to Create Stickers With Cricut?
Knowing the essential tools is as important as learning how to print sticker on Cricut. Here are some basic things you will require in order to complete this project.
- Cricut Maker or Cricut Explore cutting machine.
- A printer device.
- sticker paper or printable vinyl
- Scissors
- Weeding tool
- Transfer tape
Also, the supplies may vary depending on the machine or materials you use for your project.
The Process for Making the Custom Stickers on Cricut
You need to follow the step-by-step in the below section to create your first-ever sticker using your Cricut machines and tools.
Step 1: Choose a Design for Your Sticker
- First, choose the designs you want to make a sticker of.
- For that, open the Cricut Design Space on your PC or mobile phone device.
- Now, you can go to the clip art section in your Cricut design space or upload your own design.
- In addition, if you are making a sticker of a photo, then make sure to remove the background of the photo by using any online background removal tool.
- You can choose to keep various designs at once on your canvas.
Step 2: Enable Offset for Your Design
- You have to add the offset to your design if you are making stickers on Cricut Design Space.
- You have to first click on the design you want to add the offset to and then click on the offset option.
- After that, define the size of offset you want in your design.
- The design will be with a grey background when the offset is added.
Before offset
After offset
Step 3: Use the Shapes or Weld Tool to Fill the Space in the Offset
- You can use any shape to fill the gap in your design.
- After that, you have to size the shapes to cover the blank spots.
- Also, make sure not to extend the shapes beyond the border of the offset.
- Next, you have to highlight the offset and other things and click on the Weld option. (This Weld option helps in merging all shapes into one.)
Step 4: Flatten the Image and the Offset After Centering Them
- Now, take the image on your offset.
- For that, you can click on the image or offset and click on the Align option. Or just drag the image on the offset.
- Next, click on the Center option to set the image on the center of the offset.
- Moreover, choose both image and offset, then select Flatten.
- Your design should be like the below image after applying the flatten feature.
Step 5: Arranging the Stick and Then Printing Them
- First, you have to arrange the design on the canvas to maximize the use of sticker paper.
- Choose all the images and then select the Attach option. (You can not rearrange the images while doing the project.
- After that, do as the prompts in the Cricut Design Space suggest to send the design to your printer.
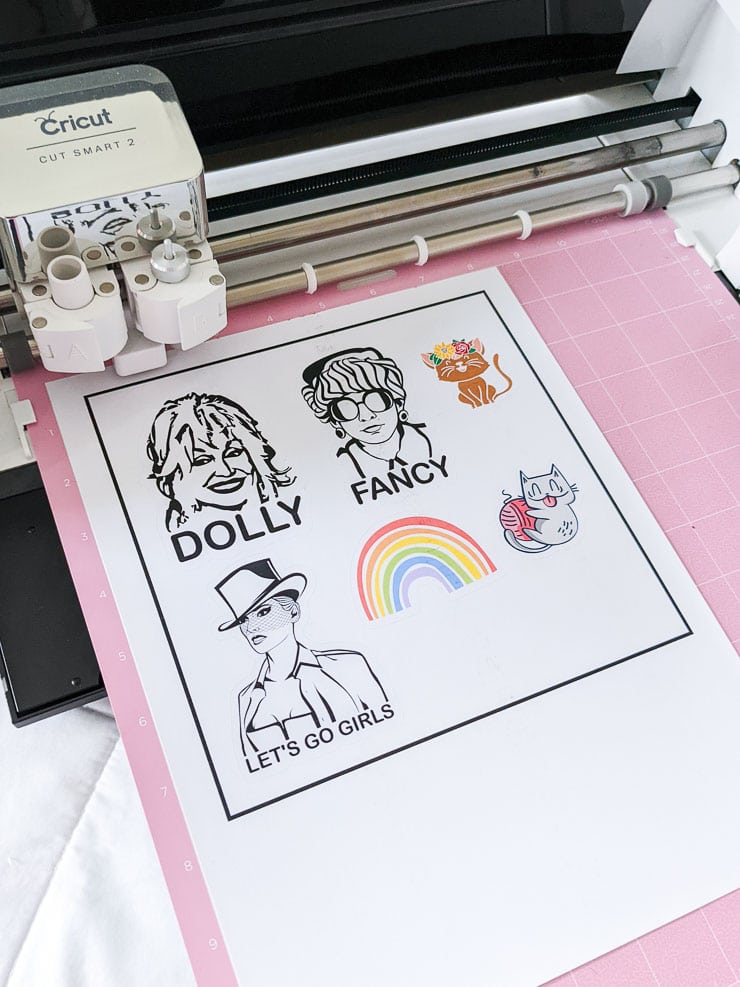
Step 6: Cut Your Stickers
- After the printing is complete, you will see the instruction to cut your stickers.
- You need to load the printed sheet on your Cricut cutting machine. (Make sure to keep the sheet on a compatible mat with your machine before inserting.)
- Now, the machine will start the cutting process.
- Once the cut is complete, you can use them wherever you like.
What are the Best Materials to Make Stickers With Cricut?
If you do not have much information about what materials you can use to make stickers, then here are a few you can try.
- Printable Sticker Paper
- Glossy Sticker Paper Cricut
- Gotega Vinyl Sticker Paper
- Zicoto Premium Printable Vinyl Sticker Paper
- Cricut Printable Vinyl, and many others.
Conclusion
After reading the steps of how to print sticker on Cricut and other vital information, you can create the sticker easily. If you are making the stickers for the first time, gather all the essentials you need and start the project. You can also face some issues while making the sticker but don’t worry, and to the steps are adequately shared here. So, what you are waiting for is to get and make a fantastic sticker for yourself or your friends today!
Visit Site – cricut.com/create
cricut.com/register
cricut machine setup
cricut software app
cricut explore air 2 setup
cricut setup for windows and mac
Source :- https://cricutsoftwareapp.com/how-to-print-stickers-on-cricut-step-by-step-tutorial/
